


How to have the organised kitchen of your dreams
Anyone who’s spent any time on Instagram will have seen those posts showing off perfectly-organised cupboards. But there’s more to a beautifully-organised kitchen than the social media likes! And we believe you don’t have to buy any fancy storage or gadgets, either.
Here’s our approach to re-organising your kitchen so that you can enjoy cooking, think ahead, and use up all the food you have.
Here’s what you’ll need
Before you get started on organising your kitchen, there are a few things to get hold of to help you along the way:
- Glass jars or other reusable containers – an organised and waste-free kitchen means more than just not throwing food away – it’s about not throwing away packaging either. One way to reduce the amount of food packaging your household gets through is to make the most of refillable containers. Thankfully, there are more and more places where you can refill your own containers with basics such as pasta, rice and flour. You could invest in some glass storage jars and also reuse old food packaging, such as herb or jam jars.
- Reusable plate and bowl covers - these will help you store leftovers. Beeswax wrap is also a great alternative to cling film or foil.
- Labels or a good old permanent pen - no truly organised home is complete without making sure everything is clearly labelled, both in the cupboards and in the fridge and freezer. Alternatively, you could just write straight onto the pack to remind yourself.
- Meal plans - going forward, some simple meal planning will help you buy only what you need, so your kitchen doesn’t start to get cluttered with food that you don’t end up using.
Step 1: Audit what you’ve got
Now that you’ve sorted the wheat from the chaff, you can take stock of what’s left. Make sure you know what should be stored where – our foods and recipes search should help you – and then divide everything that’s left into piles for fridge, freezer and store cupboard.
While you’re at it, note what needs using first, and make these foods a starting point for your next few meal plans. If there’s anything in the fridge that you won’t use before it goes off, put it onto the freezer pile.
If you’ve discovered you have cupboards full of random ingredients for recipes you tried once and didn’t end up using any more of, is there a way you can use them up in recipes you make more often? For example, the spices you bought for a particular Indian dish could be used in the sauce for your favourite curry, and the pack of light brown sugar you bought for that cookie recipe would work just as well as regular sugar in your favourite cakes.
Step 2: Organise your freezer
Starting with the freezer:
- Designate and label different drawers for different food categories – such as bread/baked goods, fruit and veg, meat and dairy.
- In your fruit and veg section, have a container or bag where you can deposit leftover scraps or skins of veg, which you can use to make vegetable stock at a later date.
- Combine loose fruit into portions that you can add straight into smoothies or desserts.
- Freeze food into individual or smaller portions so that you can take out only what you need each time.
- In your baked goods drawer, have a container where you can store breadcrumbs ready to use in recipes such as fish fingers or stuffing.
- Label everything with what it is and when you froze it.
Step 3: Organise your fridge
Next, turn your attention to the fridge:
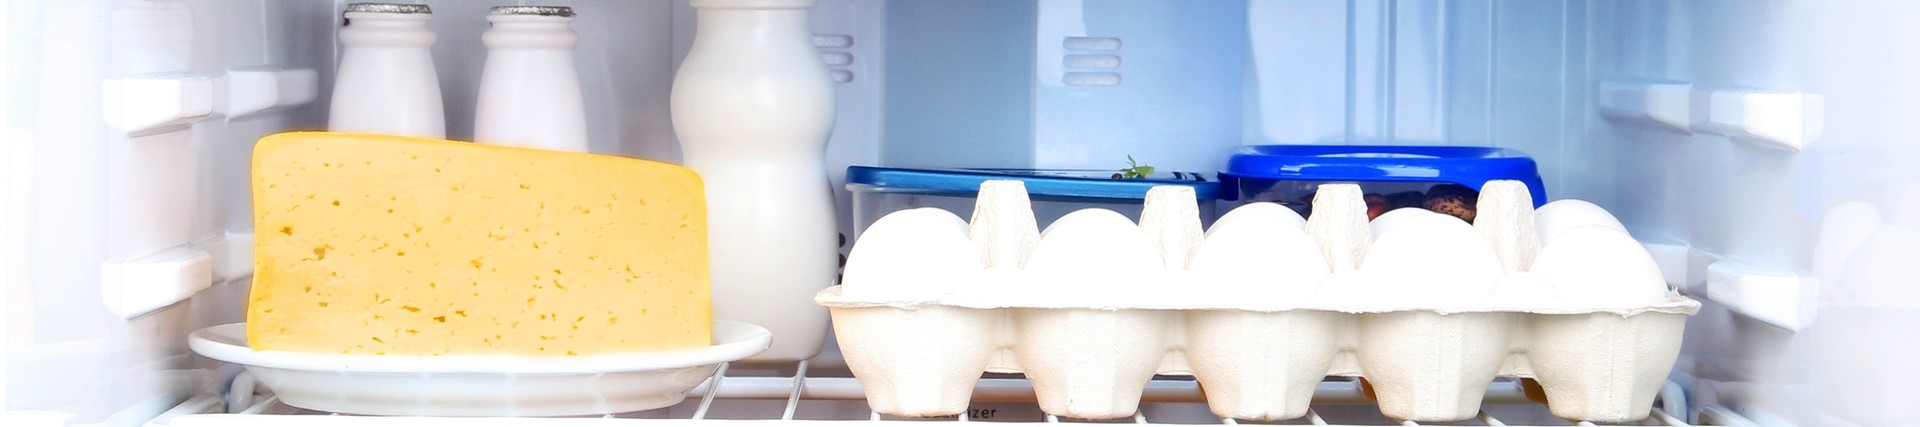
- Store raw meat, poultry, fish and shellfish on the bottom shelf, make sure it is covered and separate from ready-to-eat food, and dairy items can be stored on shelves above it – don’t store dairy products in the door.
- Put cheese in an airtight container to stop it drying out, the top and middle shelves are best for dairy.
- Move things that need using up first to the front of the fridge, or have a dedicated ‘use this first’ shelf.
- Make use of labelled containers to keep things like leftovers fresh and keep track of when you cooked them. Leftovers should be stored in the fridge and used up within two days.
Step 4: Organise your store cupboards
Anything that doesn’t go in the fridge or freezer can now be organised in your store cupboards. Do this logically, with a cupboard for tinned soups, another for teas and coffees, and so on, and put the newest items at the back so that the old ones get used first.
The glass jars (or other refillable containers) we mentioned earlier are your secret weapon when it comes to keeping lots of loose store cupboard items tidy. They can also help you see more clearly what you have before you shop, and keep things in regular rotation so you use them up. You could even try refill options in shops, too – taking your own containers with you and topping up with key ingredients like pasta, rice, or flour and buying just what you need.
If you’re storing food in your own containers, make sure they’re labelled (you’ll never be able to tell which flour is plain and which is self-raising otherwise!). And you don’t have to buy new glass jars – you can also make use of all kinds of other reusable containers you have around the house, such as takeaway tubs, ice cream or butter tubs, old jam jars and so on.
Step 5: Create a recycling zone
Create space in your home for a recycling zone with different bins or compartments devoted to different kinds of rubbish, such as one for cardboard, another for glass, another for composting and so on. Check out Recycle Now for some inspiration, and hey – you might just find that being that this organised makes recycling rather fun. Try it and see!


